Using Technology Tools in Project Work
- TECHNOLOGY SKILLS AND STANDARDS
- TECHNOLOGY AND GLOBAL COLLABORATION
- iEARN COLLABORATION CENTRE
- CHOOSING THE RIGHT TOOL
- NEXT STEPS
In this module, you will explore the importance of integrating technology into the classroom and review several international standards for technology skills. You will also learn how to use the iEARN Collaboration Centre, an online platform for your project, as well as other tools that can enhance project work.
[table id=2 /]
TECHNOLOGY SKILLS AND STANDARDS
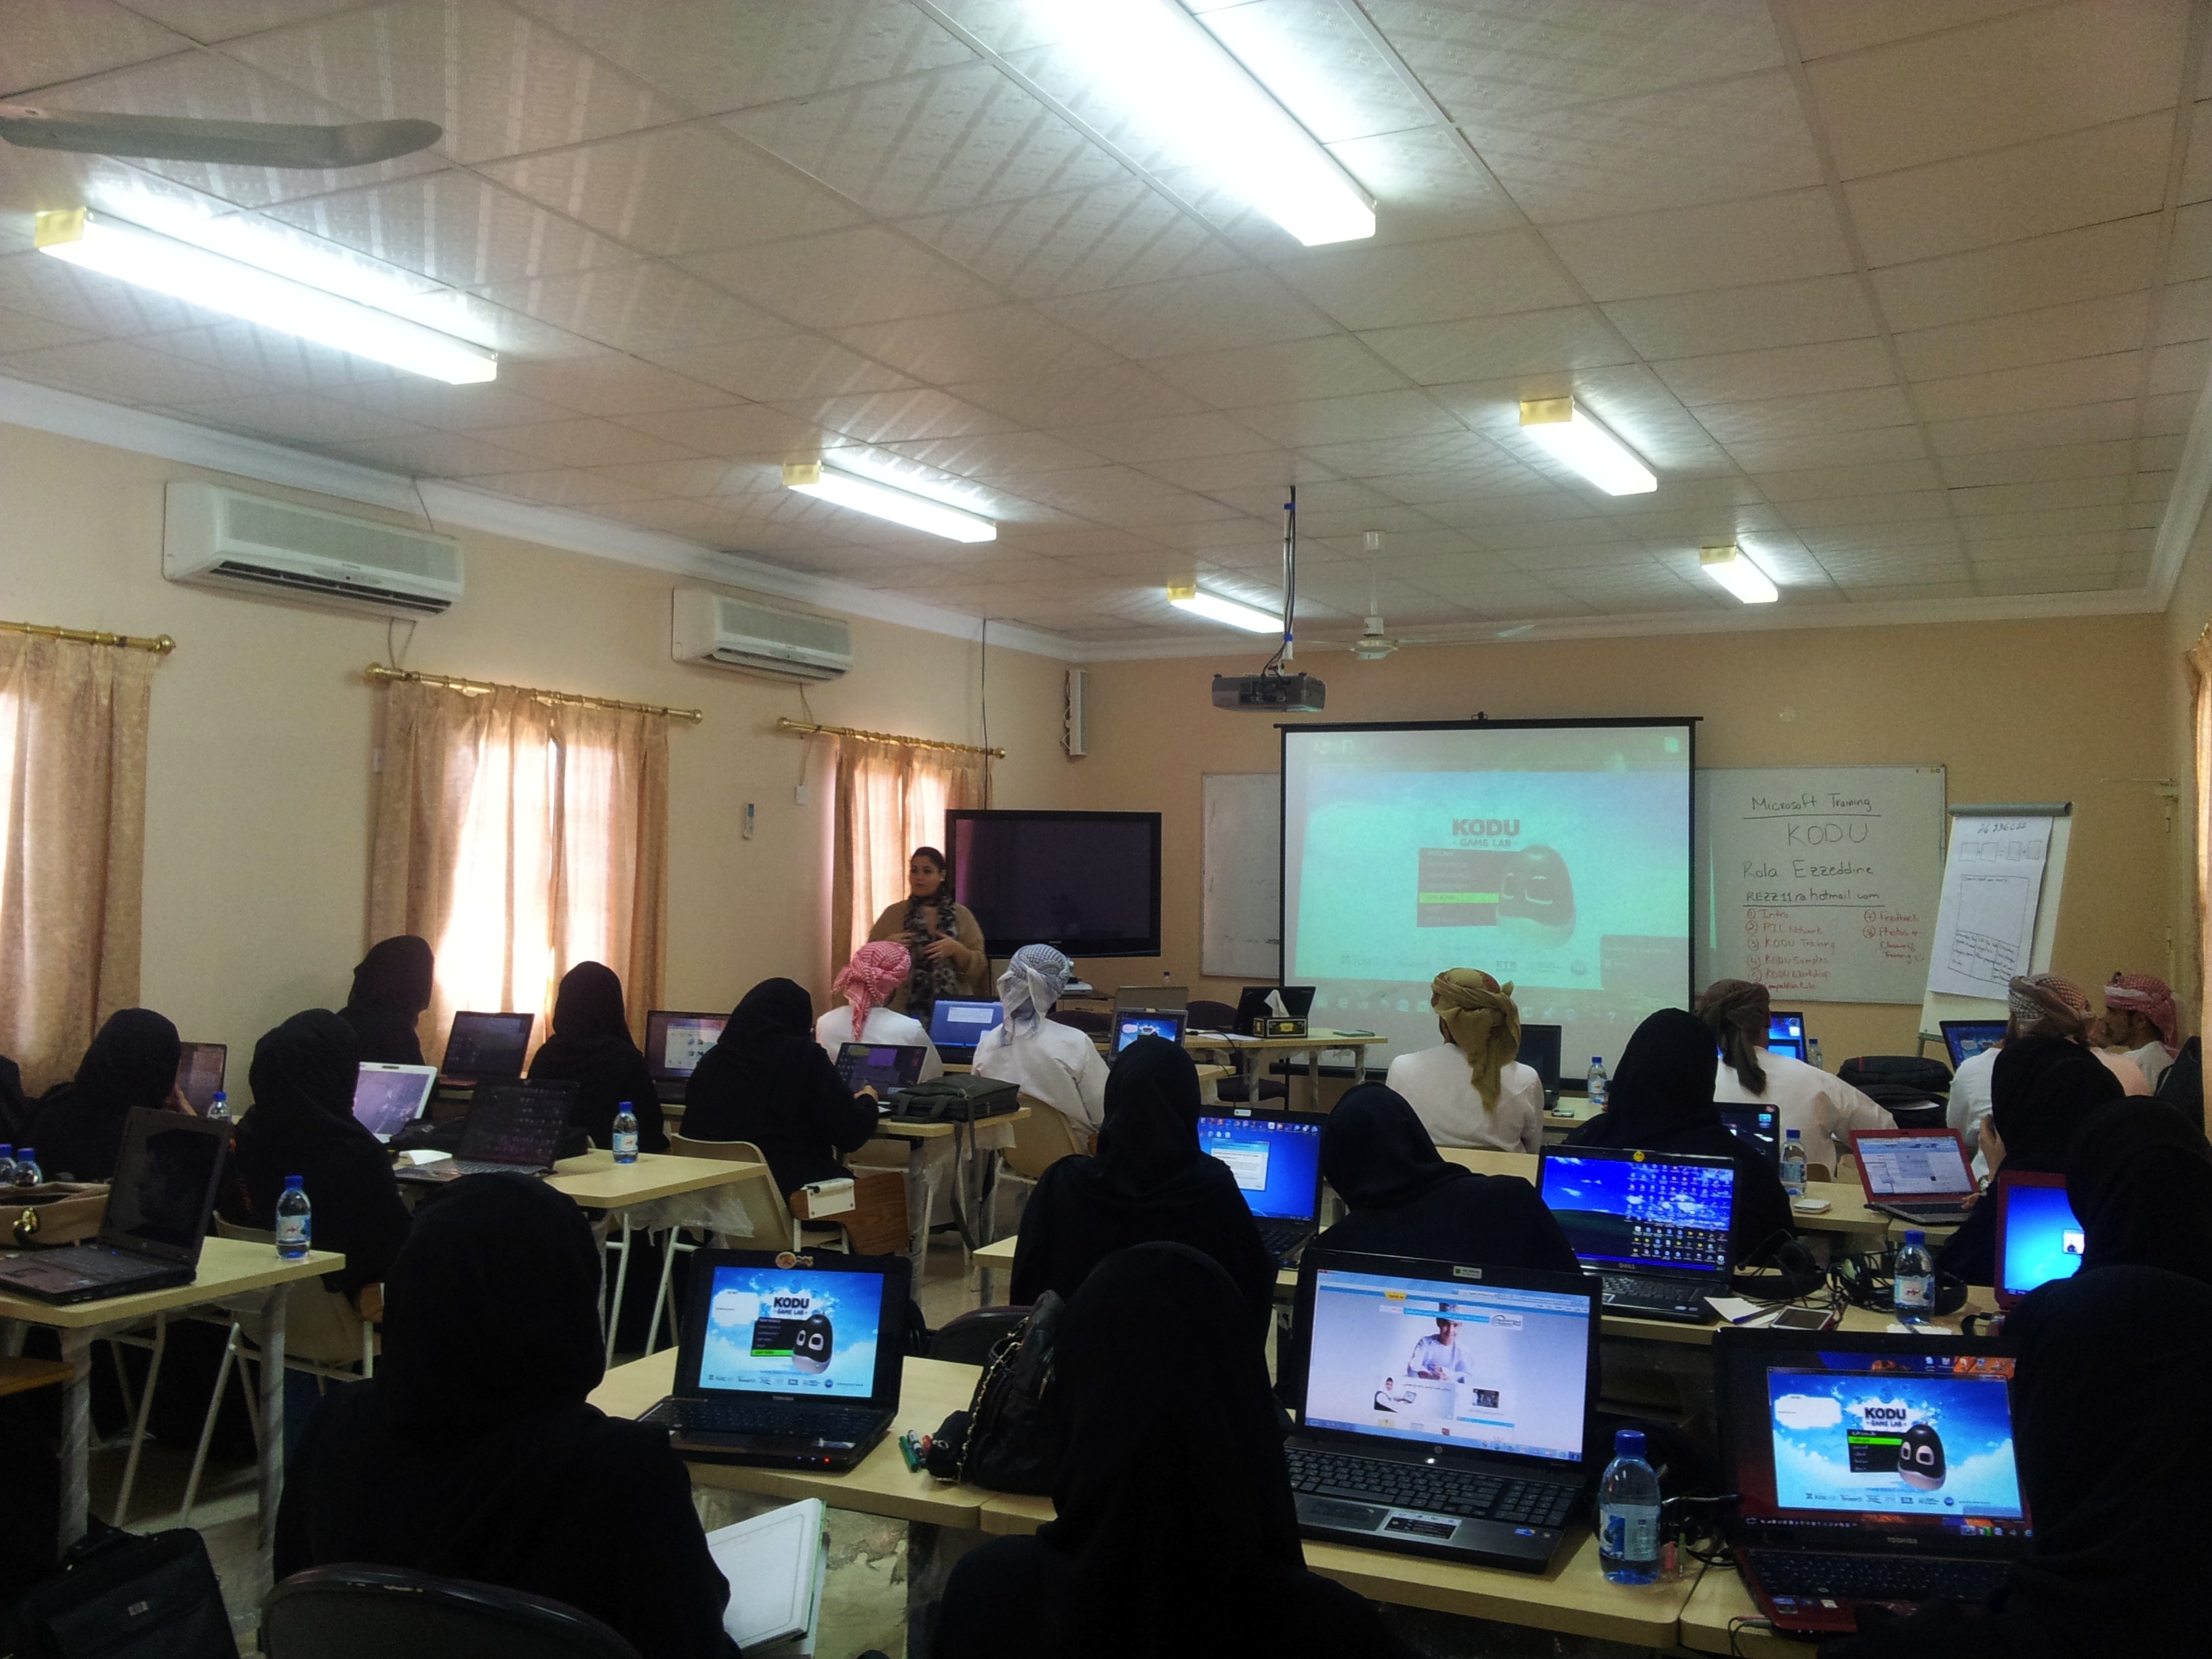
Participation in international collaborative projects naturally lends itself to the use of technology, especially Web 2.0 interactive technology, to facilitate project work and collaboration. Many national education standards now include technology skills in recognition of demands from the academic and professional landscape, which require a mastery of these tools for future success. This has been further supported by the International Society for Technology in Education (ISTE), a leading organization in educational technology, and the Partnership for 21st Century Skills, an organization that supports improving the readiness of students to be successful in college, career, and life. In today’s increasingly globalized world, greater competition in the workplace means increased demands on students to be fully prepared. Content knowledge is important, but today students also need higher order thinking to be successful.
>> Top
TECHNOLOGY AND GLOBAL COLLABORATION
Before looking at the variety of tools that can be used to enhance your global project and integrate important 21st century skills, there are some points to consider when choosing a specific technology tool:
Accessibility for all participants: Many schools block social media and collaboration networks on school computers. Some countries block certain web sites, such as Skype in Oman and YouTube in Pakistan. Be sure to work with the other teachers in your project to choose tools everyone can use.
Time Zone differences: Real-time meetings such as video-conferences are fun, motivating and lead to closer relationships in classrooms but they require careful planning and consideration of time differences so that every classroom can participate.
Privacy Issues: Many schools have strict policies about which web sites students can use because Web 2.0 tools for social networking and collaboration have varying levels of privacy. Use of email addresses may be given to third-party services depending on the Privacy Policy of the organization that offers the tool. Read each website’s Privacy Policy and Terms of Service carefully to ensure that your and your students’ privacy is appropriately protected.
Also, please note that many web-based tools have privacy restrictions enabled because of the Children’s Online Privacy Protection Act (COPPA), which limits the collection of information for children under age 13 and what they may share online. Please consider carefully how you and your students will share personal information.
Student’s ability to utilize the programs: Consider how familiar your students are with technology and software as you are planning for your project. Do you need to teach them new skills to use the programs or tools?
 >> Top
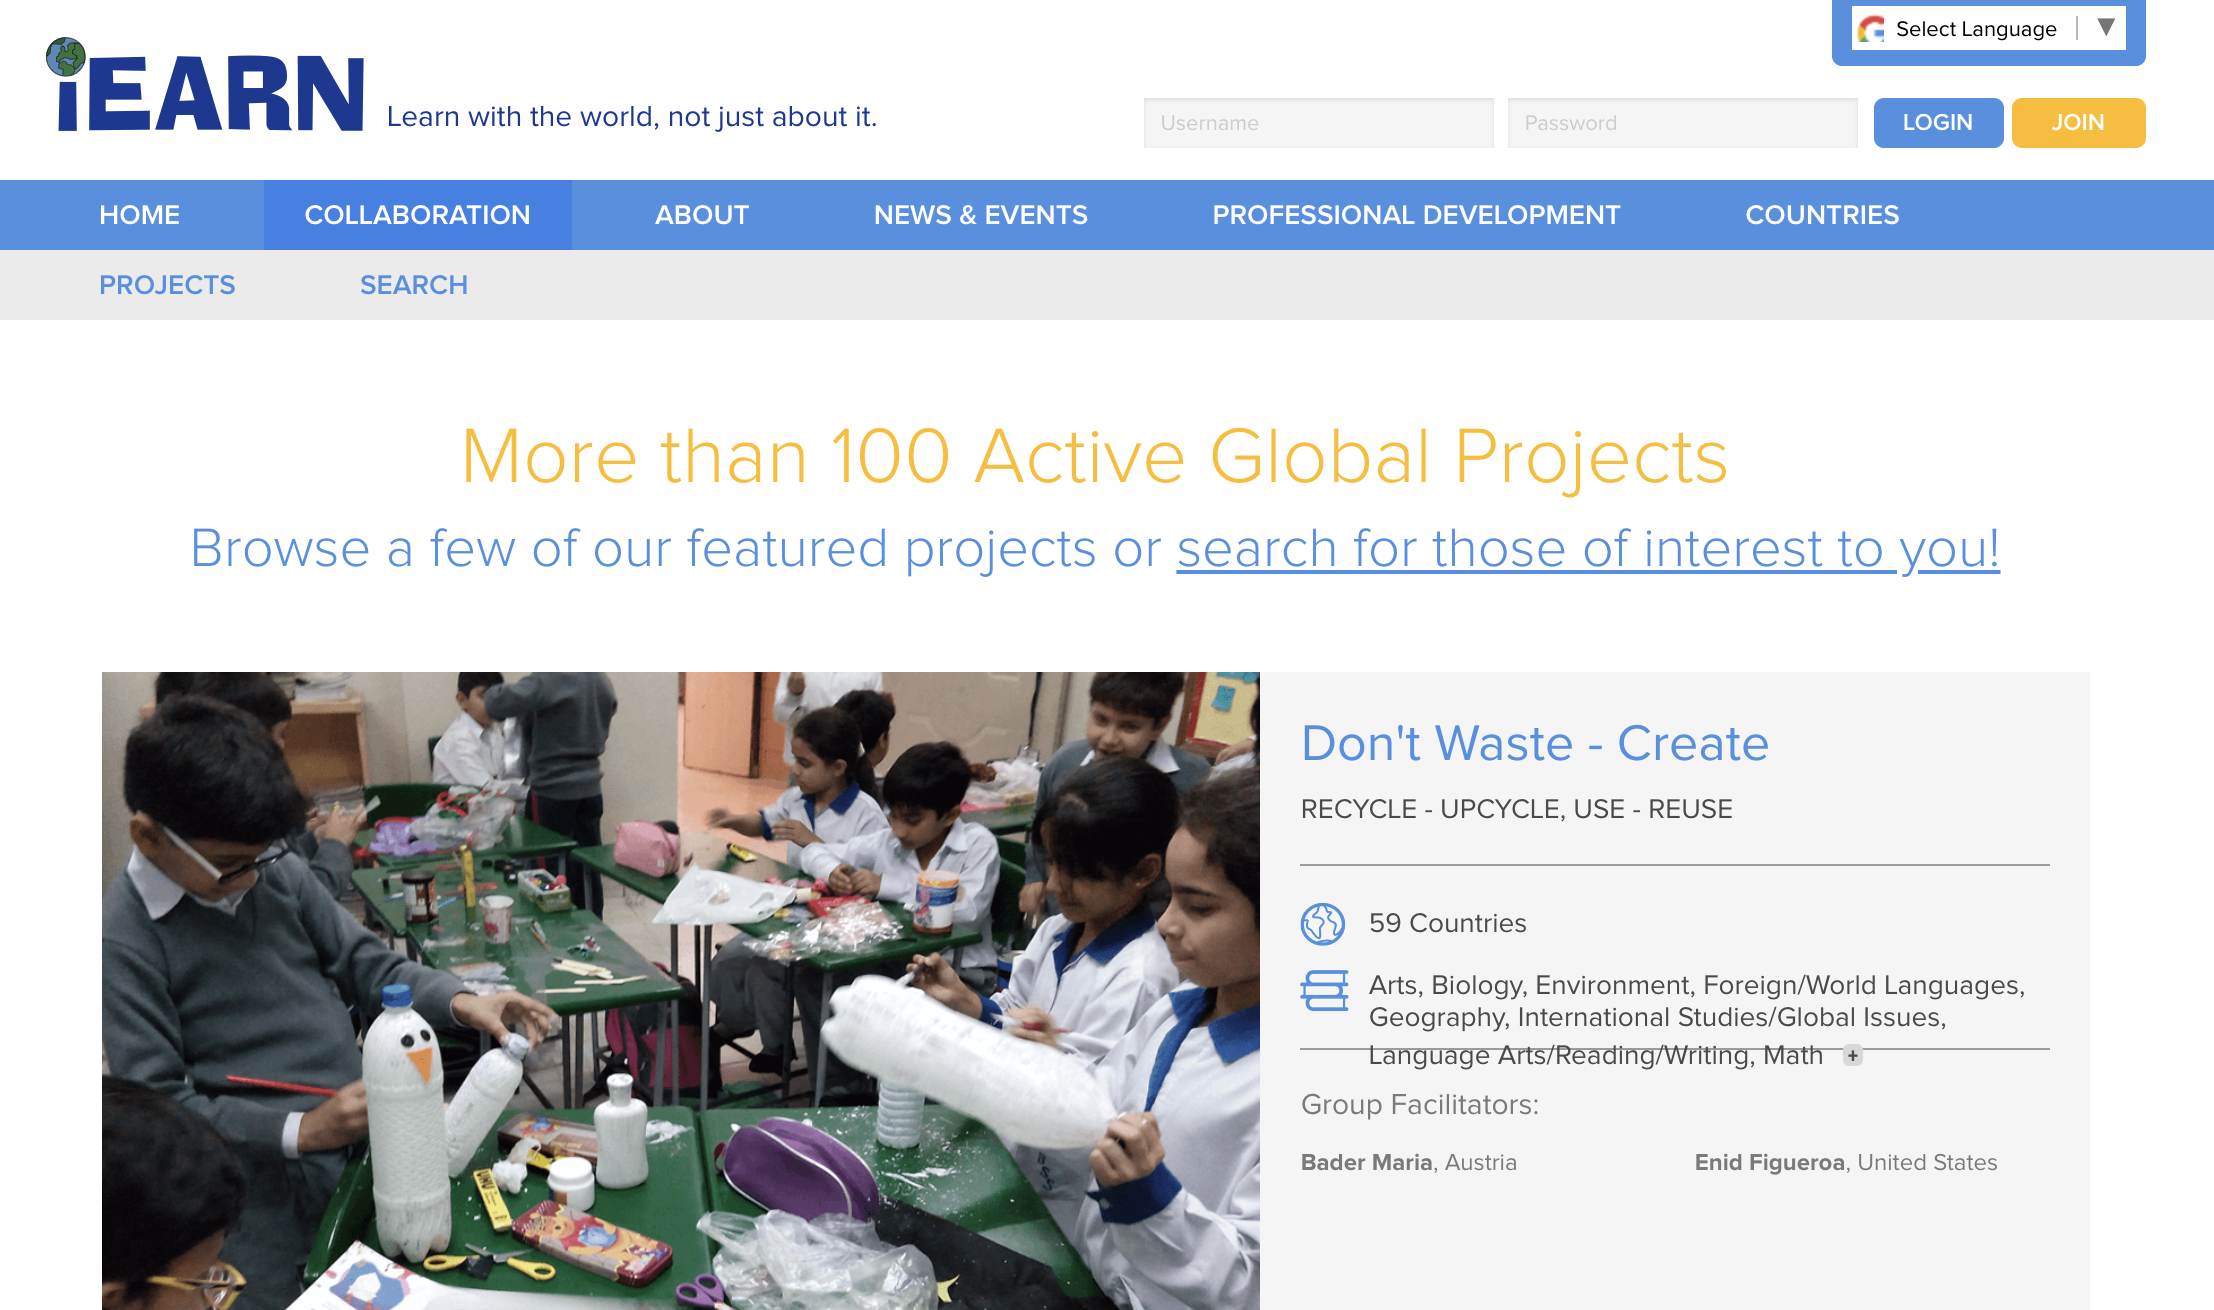
iEARN COLLABORATION CENTRE
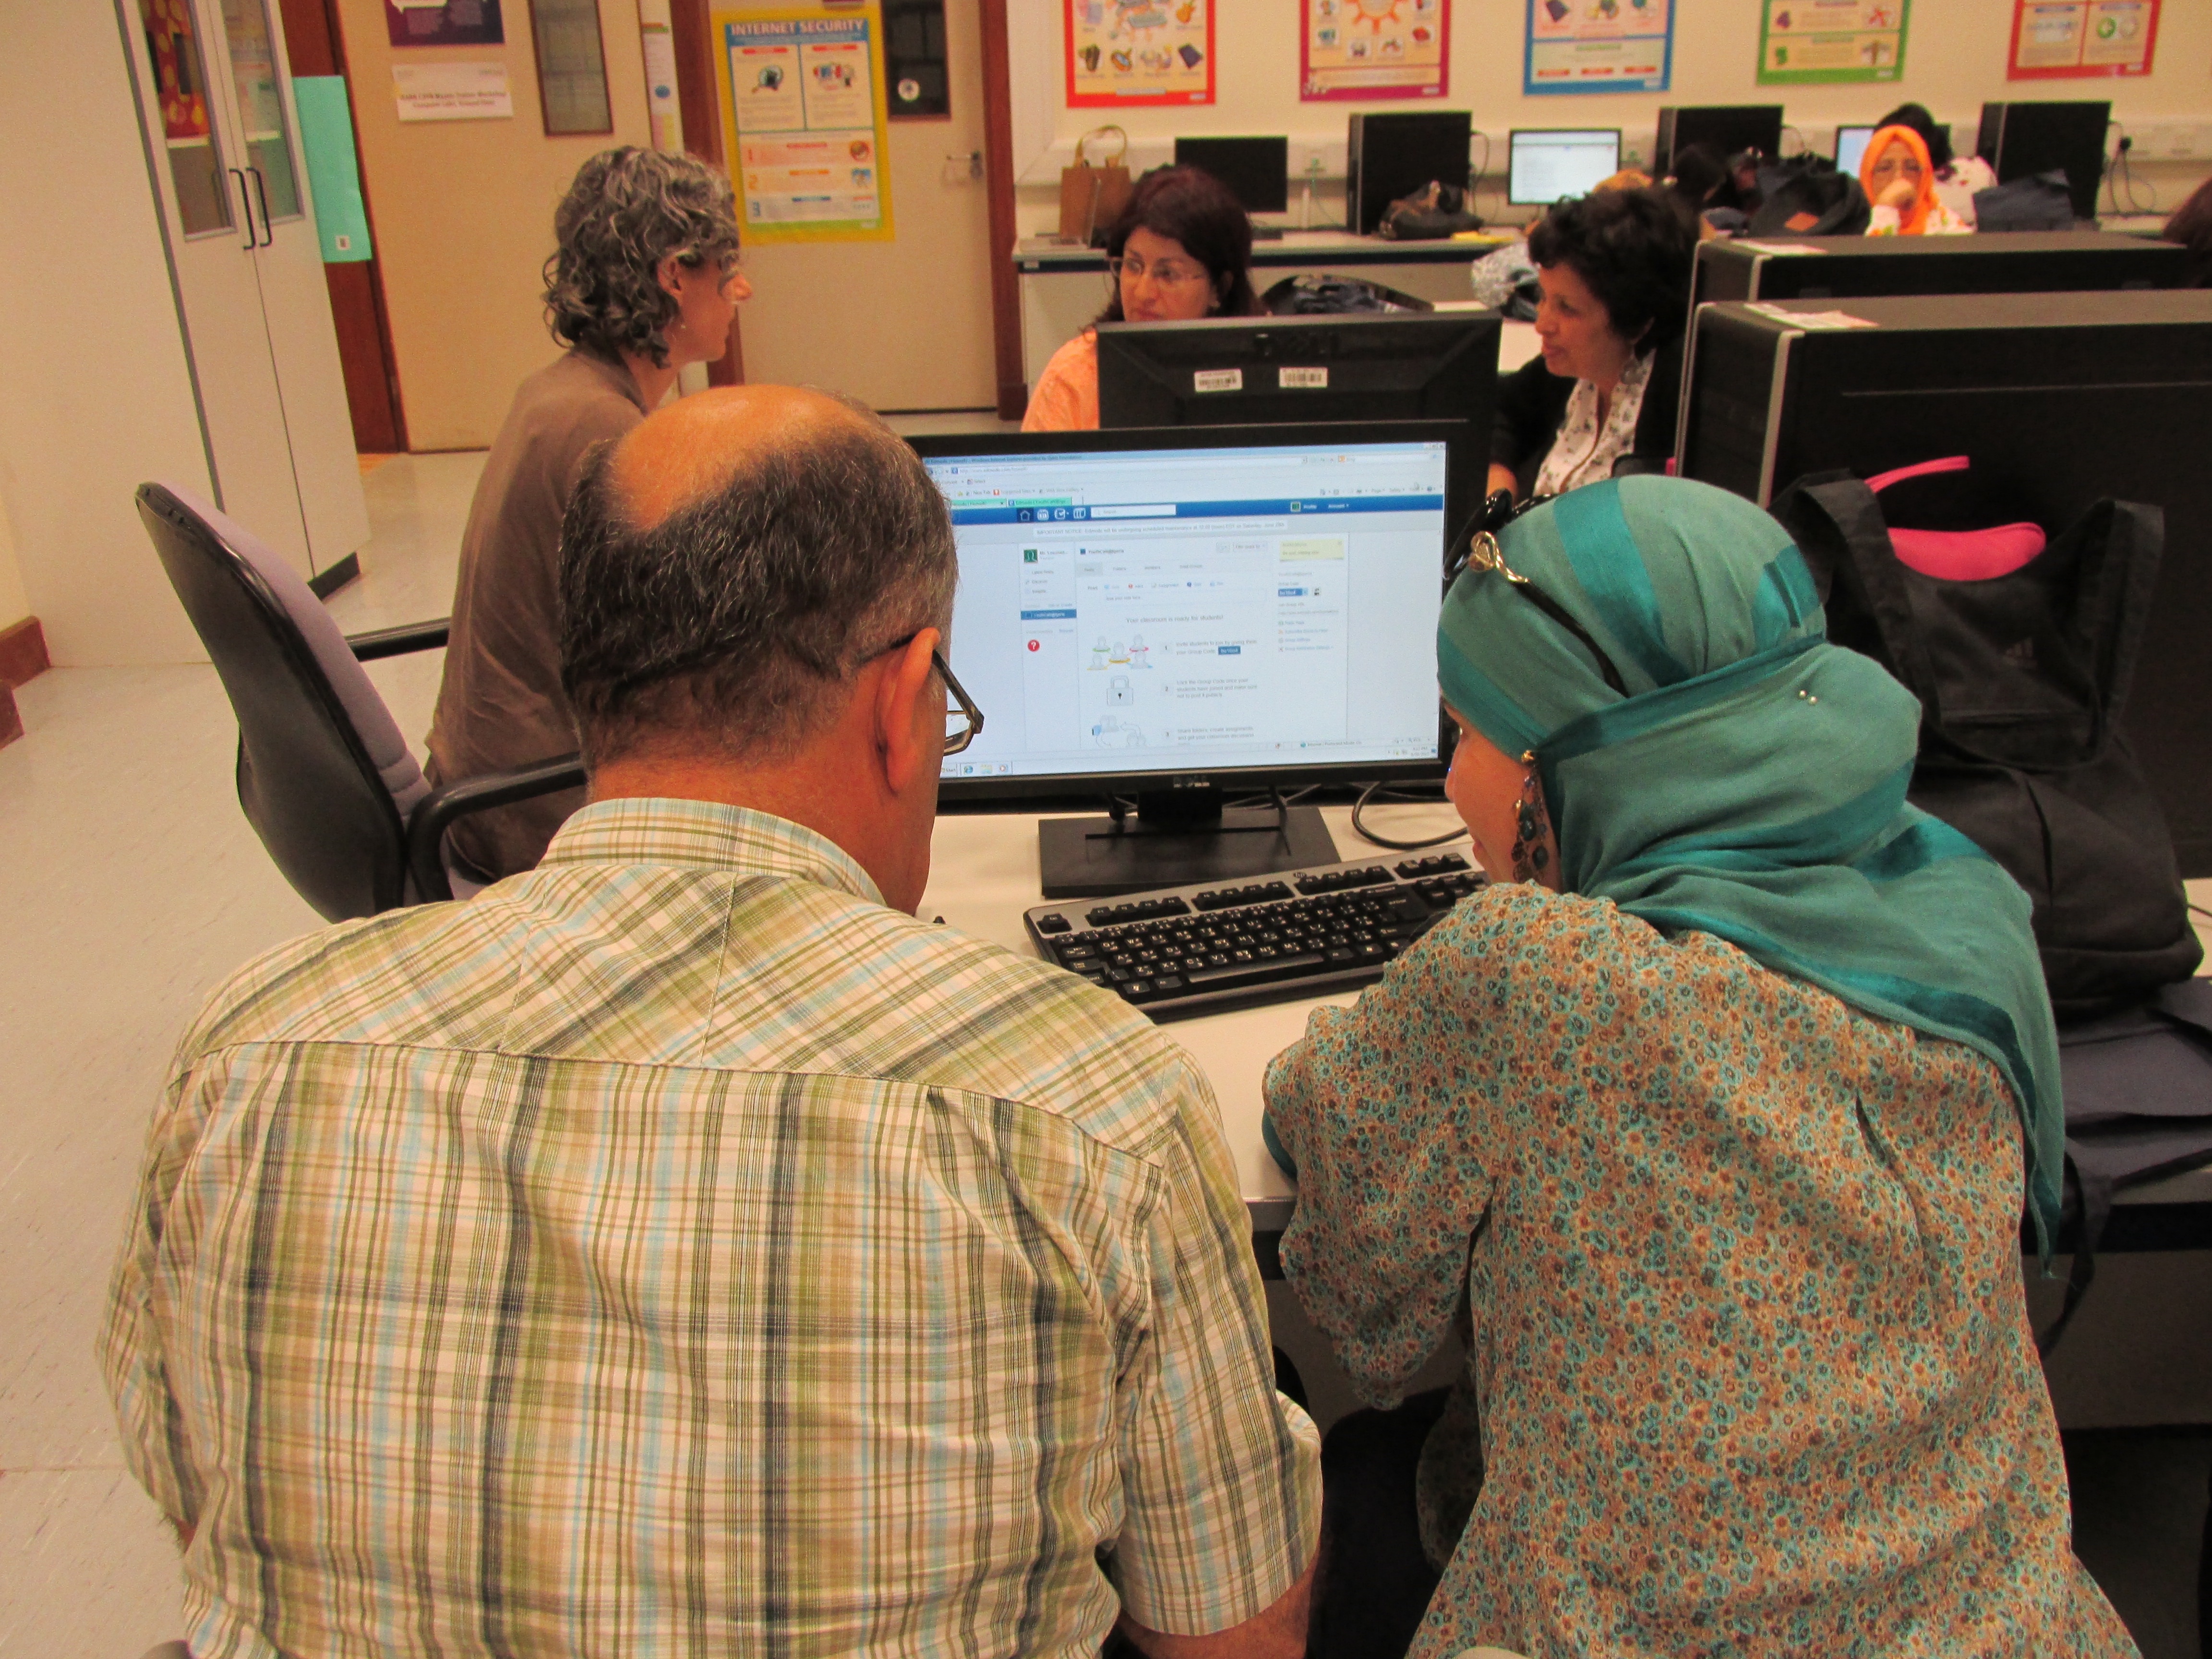
The first tool presented in this chapter is the iEARN Collaboration Centre, a safe and secure online platform where teachers and students interact, collaborate on projects, and create and share photos, videos, documents, presentations, and other multimedia resources. Teachers can also use this platform to find other teachers in the network. Projects are housed on the iEARN Collaboration Centre where iEARN educators and students around the world can connect, communicate, and work together on projects.
There are two primary areas of the Collaboration Centre:
- The Member Dashboard and
- The Collaboration Section
- Member Dashboard
User Profile All registered educators have a personal profile page found in the “Member Dashboard.” Remember that without face-to-face communication, your online profile is how fellow educators can get to know more about you. Be sure to upload a photo or image and share something about yourself along with your contact information.Create User Names for Students: Educators can create user names for students in the “Student Management” section of the Member Dashboard. Creating logins for students allows them to access the Collaboration Centre to communicate directly with their peers in other countries. However, since students are added by teachers, their personal information remains private and cannot be searched or accessed by iEARN members or anyone outside of iEARN.My Collaboration Groups This area allows you to quickly access any projects you have joined in the My Groups list. It also includes news and announcement, and a link to “how to” tutorials to help use the Collaboration Centre features.
- Collaboration Section
The three primary spaces in the Collaboration section are:- the iEARN Project Space
- the Learning Circles Space
- the iEARN General Discussion Space
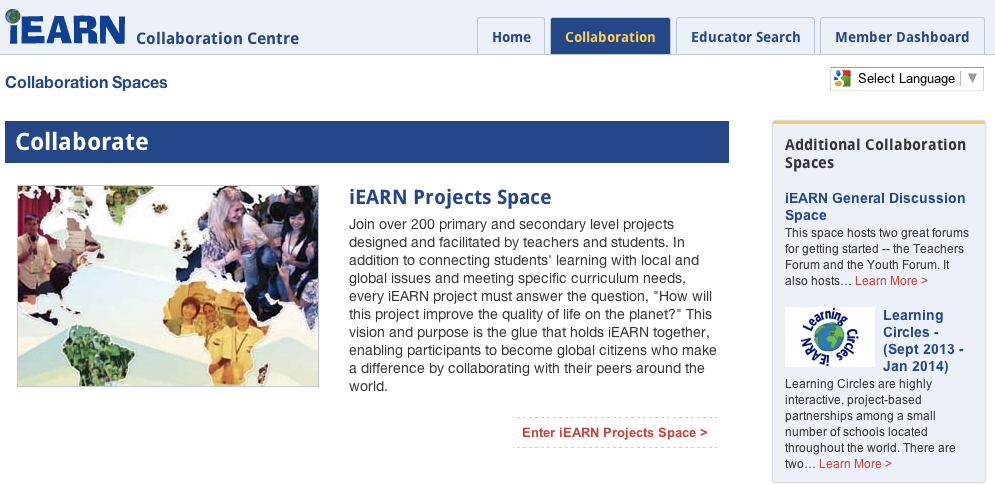 In all the groups within these spaces you will first need to join a group before you can post in the forums. Do this by clicking on the “Join Group” button. Once you have joined, you can go to “My Group Settings” in the box on the left and opt to “Notify me of topic updates via e-mail” to have group forum messages sent to your email.iEARN Project Space: This space has a group for each iEARN project. In each group, you will find the project description, forum, and media that are associated with the project. This space is where you can find projects included in the theme areas listed in Module Two.Learning Circles Space: This space is dedicated to the iEARN Learning Circles, a type of collaborative project structure which organizes classrooms into small groups to work together on a project theme for 14 weeks.iEARN General Discussion Space: This space contains the Teachers Forum, Youth Forum, Practice Group, Collaboration Center Feedback Group, and other special groups.
>> Top
CHOOSING THE RIGHT TOOL
There are many web-based tools and computer programs that can be used to enhance your project work in the Collaboration Centre. Different tools can be used for blogging, website design, video-conferencing, project planning, presenting, and social networking. Below you will find several examples of tools that you and your students can use for your global projects and a few examples of how other educators have used them with their students.
 Blogging
A blog is an easy Web 2.0 tool that allows multiple students or classrooms to publish multimedia content online. Blogs can take the form of a personal diary, a collection of data, or series of opinion pieces from different sources. There are several free sites where students and classes can publish an online journal including Blogger, WordPress, and Tumblr.
Website Design
Websites are ideal spaces for displaying static content such as project overviews, links to blogs, photo slideshows, project reports from previous years, or classroom materials. It is also a great way to quickly share what your class is working on. Designing and managing a website has become much easier with some online tools that require no previous experience. Check out SiteBuilder and Google Sites for free and easy ways to design and share webpages.
Wikis
A wiki is similar to a webpage except that it allows readers to collaborate in its construction by adding, editing and changing the page’s content at any time. It is an easy space for collaborative authoring or e-portfolios because it tracks all changes so that teachers can see the successive versions of documents. Check out wikispaces to create public or private online pages.
 Video-Conferencing
Video-conferencing offers many educational opportunities and is one of the easiest ways to connect classrooms around the world online. Not only are students and teachers able to communicate in real time and with video, but these platforms can also be used to take virtual field trips, connect with experts, facilitate peer-to-peer tutoring, and webinar hosting. Here are some video-conferencing tools:
Skype: Allows users to communicate with peers by voice using a microphone, video by using a webcam, and instant messaging over the Internet.
Google+ Hangout: Free platform to connect multiple users through audio and video-conferencing and media sharing.
Planning Tools
 The following tools can help students and teachers as they collaboratively plan and execute their projects.
Mindmeister: collaboratively created concept maps help students brainstorm and organize their ideas or topics for a project.
Dropbox: an online storage of documents, videos, and pictures that can be accessed from anywhere and easily shared with anyone.
Google Drive: students and teachers can collaboratively create word documents, spreadsheets and PowerPoint presentations as well as store and share these files online.
Presentation Tools
Students will want to share their projects throughout the process and once they are complete. The following tools allow students to leverage multimedia communication to enhance the presentation and sharing of their work.
Prezi: presentation tool like PowerPoint that allows students to share their ideas in a more dynamic and less linear way.
GoAnimate: a program for making animated videos.
TimeGlider: online timeline for presenting and sharing history.
Animoto: turns project photos into video slideshows.
Woices: a free internet tool that allows people to create and share audio recordings that are tagged on a map.
YouTube and Vimeo: sites for uploading and sharing videos
“I knew that there were people all around the world but iEARN brought all those far away people close to me! Not only did I become a technical expert using computers and internet, I also improved my writing tremendously while developing a highly open mind.”
~ Udara, iEARN Student Alumnus, Sri Lanka
Social Media
 Although these web tools are mostly known for social networking, they can also be dynamic learning spaces. Students and teachers can easily follow trends and news on certain topics or share their own discoveries with other followers. Social media platforms also use a unique communication style that requires students to express concise, specific, engaging ideas as well as apply higher order thinking to categorize or tag those ideas.
Twitter: a tool that enables its users to send and read short text-based messages of up to 140 characters.
Facebook: Users must register before using the site, after which they may create a personal profile, add other users as friends, and exchange messages.
Flickr: allows users to upload and share photos as well as create slideshows that can be embedded into websites or blogs.
Other Useful Project Tools
There are numerous Web 2.0 tools that lend themselves to project-based learning. Here are a few additional tools you may consider using in your collaborative project:
Open Street Map: a free, editable map of the world.
Google Sketch Up: online 3-D modeling tool.
Survey Monkey: build surveys that can be emailed, downloaded or embedded into a website.
 Project Snapshot
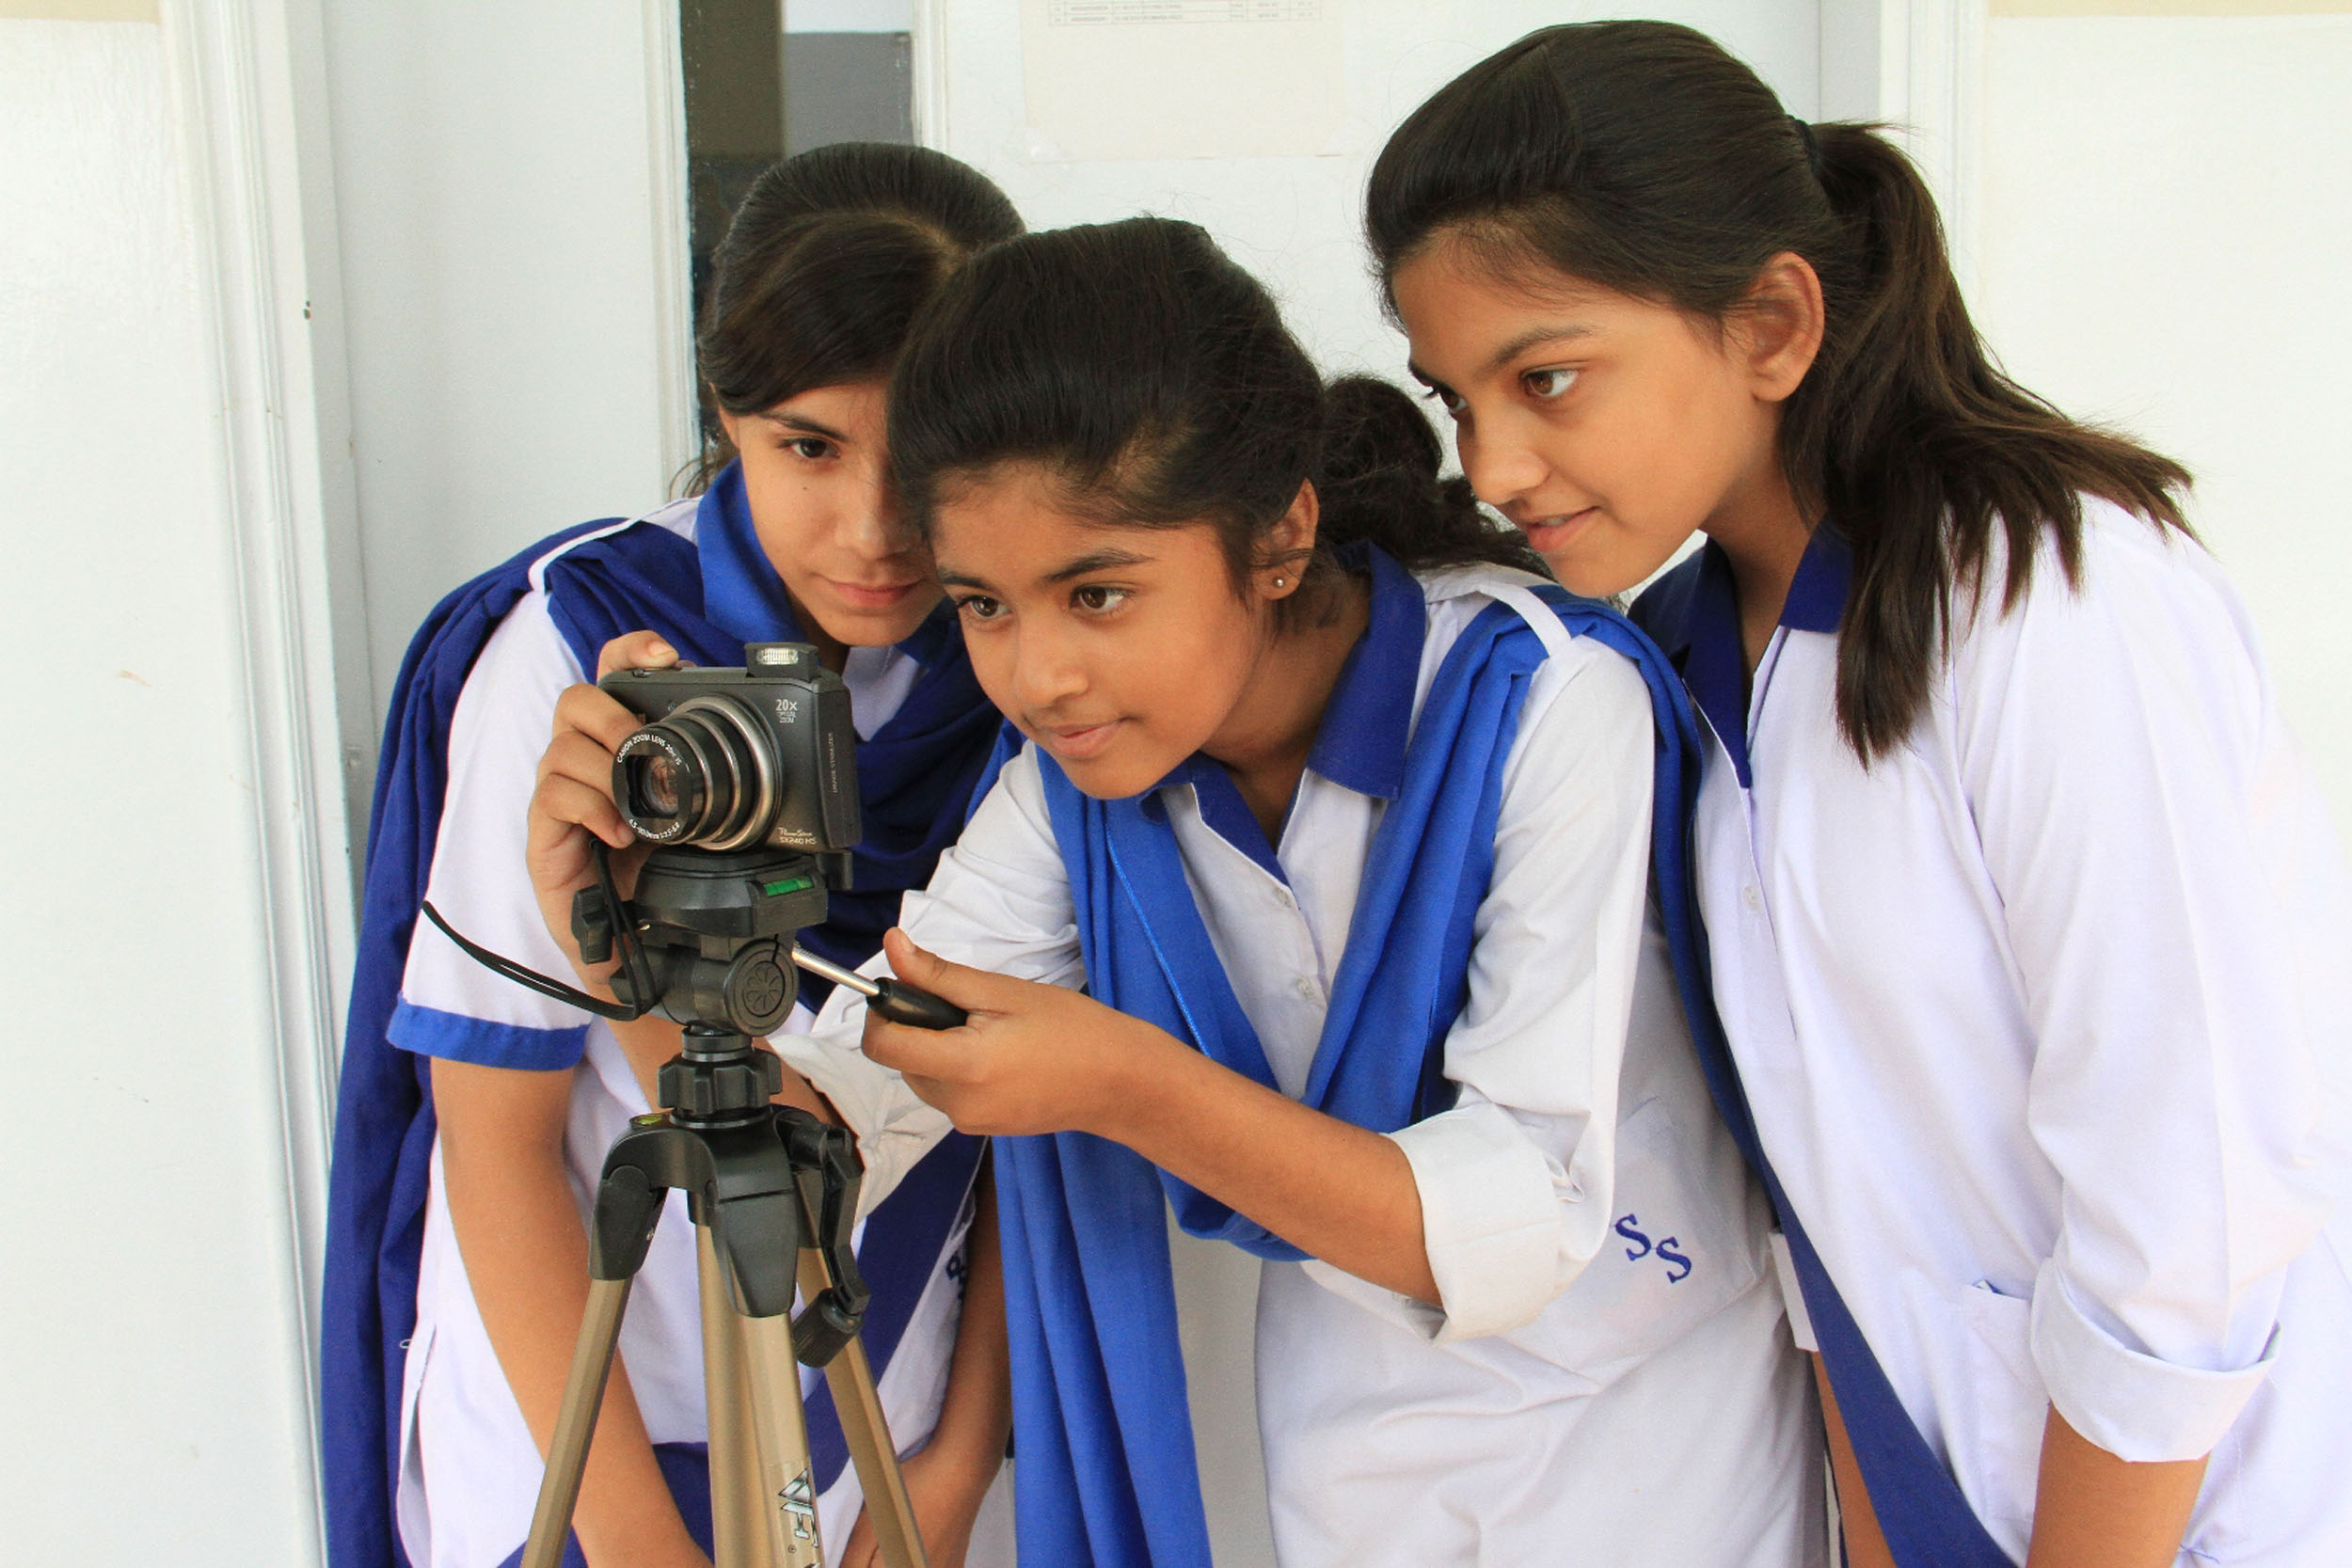
Video: Students of the New York City Planning Committee for the YouthCaN project created an informative video on e-waste recycling to use for their presentation at the 2012 iEARN Virtual Conference and Youth Summit. They used iMovie to edit their video and posted it on YouTube.
Woices: The Public Art Project uses Woices, a free internet tool that allows people to create and share audio records linked to a specific place, located on the map, to describe public art in their communities.
GoAnimate: Students in the Finding Solutions to Hunger project used GoAnimate, a program that allows you to make animated videos, to share what they learned about the reasons for hunger.
>> Top
NEXT STEPS
Technology tools can strengthen your students’ work at each phase of project planning. For collaborative projects, these tools support teachers and students to make project plans with peers in other countries and present their work to the world. As you are developing your project plan, consider which tools you and your students will use and when you will use them.
>> Top